Fabric.js是一個JavaScript庫,用於處理畫布。 canvas圖像是用於創建圖像實例的fabric.js類之一。畫布圖像表示圖像是可移動的,可以根據需要進行拉伸。圖像的width屬性用於設置圖像的寬度。
方法:首先導入fabric.js庫。導入庫後,在body標簽中創建一個畫布塊,其中將包含圖像。之後,初始化Canvas和Fabric.JS提供的圖像類的實例,並使用width屬性設置畫布圖像的高度。之後,在畫布上渲染圖像。
用法:
fabric.Image(image, {
    width:Number
});
參數:該函數采用上述和以下描述的單個參數:
- Width:此參數采用數字來設置畫布圖像的寬度。
例:本示例使用FabricJS設置畫布圖像的寬度,如下例所示:
HTML
<!DOCTYPE html>
<html>

<head>
    <!-- Adding the FabricJS library -->
    <script src=
"https://cdnjs.cloudflare.com/ajax/libs/fabric.js/3.6.2/fabric.min.js">
    </script>
</head>

<body>
    <h1 style="color:green;">
        GeeksforGeeks
    </h1>

    <b>
        Fabric.js | Image visible Property
    </b>

    <canvas id="canvas" width="400" height="300"
        style="border:2px solid #000000">
    </canvas>

    <img src=
"https://media.geeksforgeeks.org/wp-content/uploads/20200327230544/g4gicon.png"
        width="100" height="100" id="my-image"
        style="display:none;">
    <br>

    <button onclick="wid()">Clickme</button>

    <script>

        // Creating the instance of canvas object
        var canvas = new fabric.Canvas("canvas");

        // Getting the image
        var img = document.getElementById('my-image');

        // Creating the image instance
        var imgInstance = new fabric.Image(img, {
        });

        function wid() {
            imgInstance = new fabric.Image(img, {
                width:250
            });
            canvas.clear();

            // Rendering the image to canvas
            canvas.add(imgInstance);

            canvas.centerObject(imgInstance);
        }
        canvas.add(imgInstance);
        canvas.centerObject(imgInstance);
    </script>
</body>

</html>
輸出:
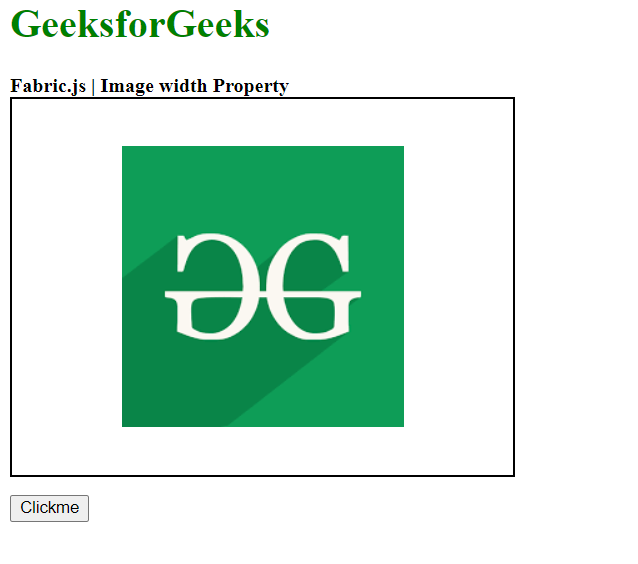
- 在單擊按鈕之前:
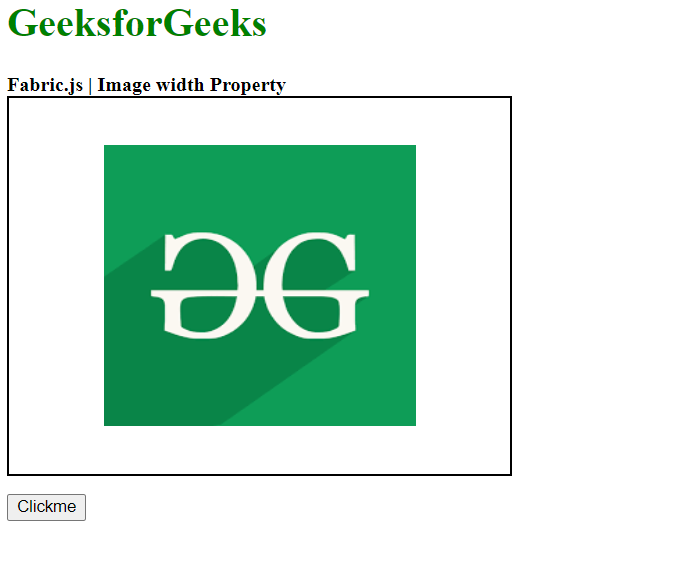
- 單擊按鈕後:
相關用法
- CSS border-image-width用法及代碼示例
- HTML Input Image width用法及代碼示例
- CSS border-top-width用法及代碼示例
- CSS column-rule-width用法及代碼示例
- CSS border-width用法及代碼示例
- HTML Screen width用法及代碼示例
- CSS border-bottom-width用法及代碼示例
- CSS border-right-width用法及代碼示例
- CSS outline-width用法及代碼示例
- CSS max-width用法及代碼示例
- CSS min-width用法及代碼示例
- CSS column-width用法及代碼示例
- HTML Style width用法及代碼示例
- HTML Video width用法及代碼示例
- HTML IFrame width用法及代碼示例
注:本文由純淨天空篩選整理自dheerchanana08大神的英文原創作品 Fabric.js Image Width Property。非經特殊聲明,原始代碼版權歸原作者所有,本譯文未經允許或授權,請勿轉載或複製。