jQuery UI包含GUI小部件,视觉效果和使用jQuery,CSS和HTML实现的主题。 jQuery UI非常适合建造网页的UI接口。jQuery UI工具提示小部件可帮助我们添加新主题并允许自定义。在本文中,我们将看到如何使用展示jQuery UI工具提示中的选项。
这个展示选项用于在jQuery UI工具提示中显示时添加动画效果。默认情况下,值为真正。
用法:
$(".selector").tooltips(
   { show:true }
);
参数:
- Boolean:如果设置为false,则没有显示效果。
- Number:显示工具提示的时间(毫秒)。
方法:首先,添加项目所需的jQuery UI脚本。
<link href=”https://code.jquery.com/ui/1.10.4/themes/ui-lightness/jquery-ui.css” rel=”stylesheet”>
<script src=”https://code.jquery.com/jquery-1.10.2.js”></script>
<script src=”https://code.jquery.com/ui/1.10.4/jquery-ui.js”></script>
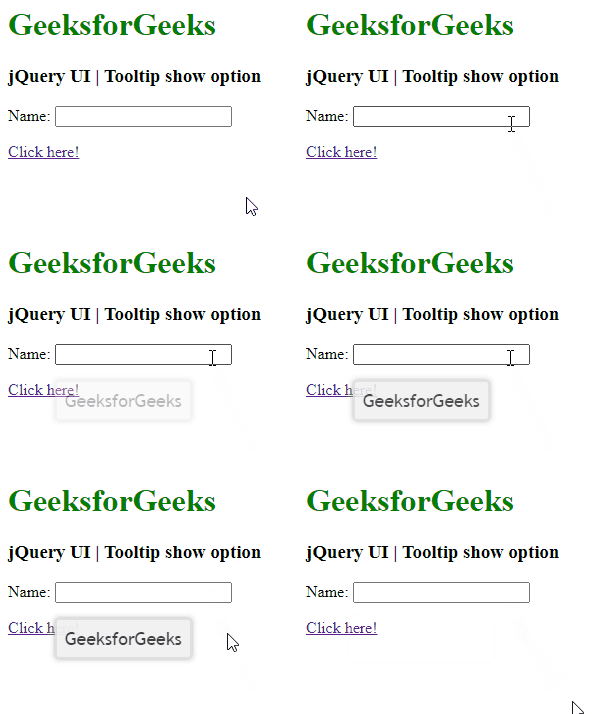
范例1:以下代码演示了以毫秒为单位的show选项的设置。
HTML
<!doctype html>
<html lang="en">

<head>
    <meta charset="utf-8">
    <link href=
"https://code.jquery.com/ui/1.10.4/themes/ui-lightness/jquery-ui.css"
        rel="stylesheet">

    <script src=
        "https://code.jquery.com/jquery-1.10.2.js">
    </script>

    <script src=
        "https://code.jquery.com/ui/1.10.4/jquery-ui.js">
    </script>

    <h1 style="color:green;">
        GeeksforGeeks
    </h1>
    <h3>
        jQuery UI | Tooltip show option
    </h3>

    <script>
        $(function () {
            $("#gfg1").tooltip({
                show:1000
            });
            $("#gfg1").tooltip();
            $("#gfg2").tooltip();
        });
    </script>
</head>

<body>
    <label for="name">Name:</label>
    <input id="gfg1" title="GeeksforGeeks">

    <p><a id="gfg2" href="" title="GeeksforGeeks">
        Click here!
    </a></p>
</body>

</html>
输出:

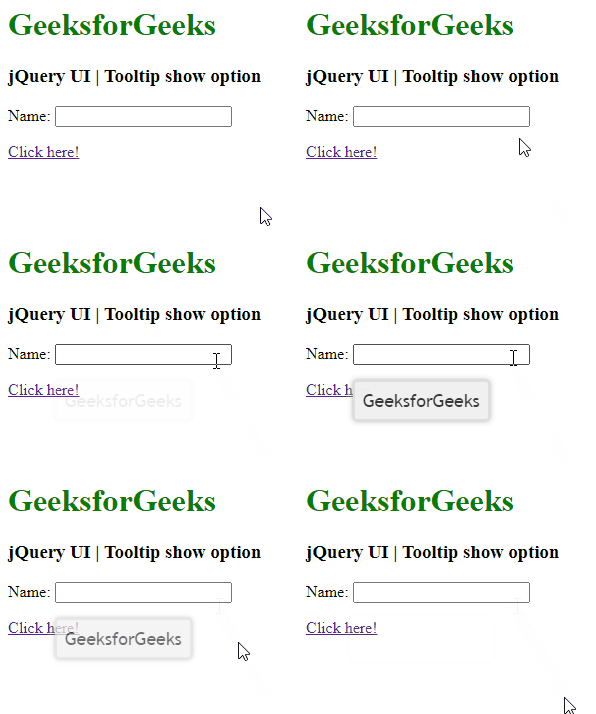
范例2:以下代码演示了具有布尔值的show选项的设置。
HTML
<!doctype html>
<html lang="en">

<head>
    <meta charset="utf-8">
    <link href=
"https://code.jquery.com/ui/1.10.4/themes/ui-lightness/jquery-ui.css"
    rel="stylesheet">

    <script src="https://code.jquery.com/jquery-1.10.2.js"></script>

    <script src="https://code.jquery.com/ui/1.10.4/jquery-ui.js">
    </script>

    <h1 style="color:green;">
        GeeksforGeeks
    </h1>

    <h3>
        jQuery UI | Tooltip show option
    </h3>

    <script>
        $(function () {
            $("#gfg1").tooltip({
                show:true
            });
            $("#gfg1").tooltip();
            $("#gfg2").tooltip();
        });
    </script>
</head>

<body>
    <label for="name">Name:</label>
    <input id="gfg1" title="GeeksforGeeks">

    <p><a id="gfg2" href="" title="GeeksforGeeks">
            Click here!
    </a></p>
</body>

</html>
输出:

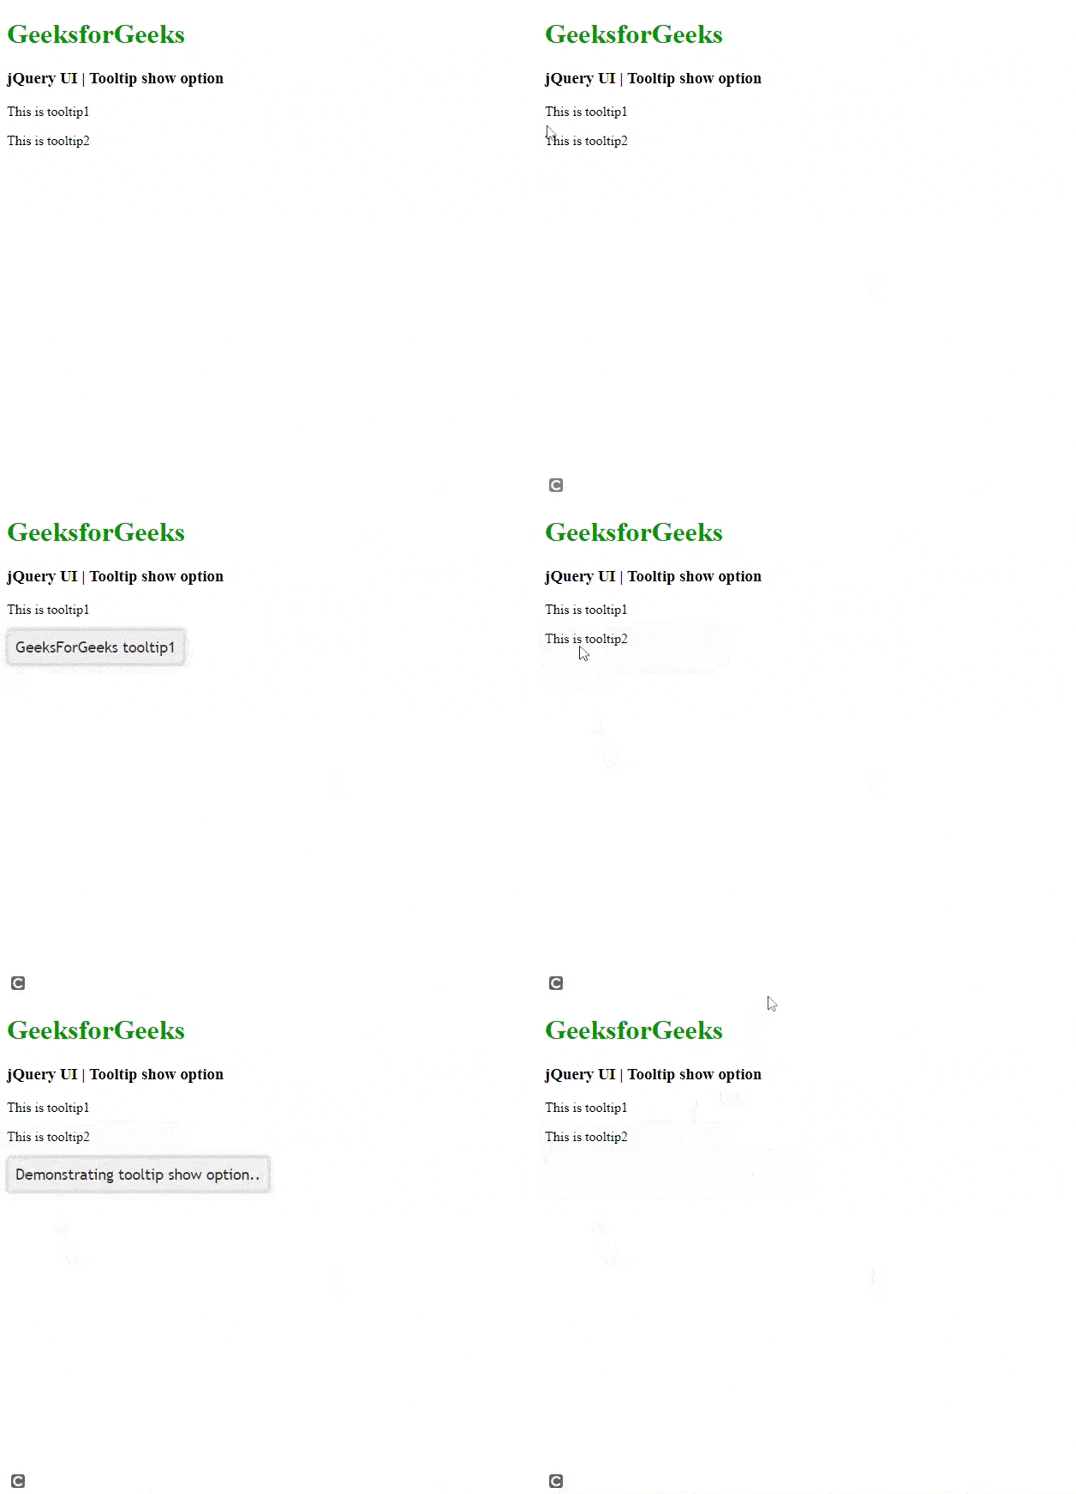
范例3:下面的示例演示了具有slideDown和folds函数的工具提示显示选项。请参阅输出图像以更好地理解。
HTML
<!doctype html>
<html lang="en">

<head>
    <meta charset="utf-8">
    <link href=
"https://code.jquery.com/ui/1.10.4/themes/ui-lightness/jquery-ui.css"
    rel="stylesheet">

    <script src="https://code.jquery.com/jquery-1.10.2.js"></script>

    <script src="https://code.jquery.com/ui/1.10.4/jquery-ui.js">
    </script>

    <h1 style="color:green;">
        GeeksforGeeks
    </h1>

    <h3>
        jQuery UI | Tooltip show option
    </h3>

    <script>
        $(function () {
            $("#tooltipID1").tooltip({
                show:"slideDown"
            });
            $("#tooltipID2").tooltip({
                content:'Demonstrating tooltip show option..',
                show:"fold"
            });
        });
    </script>
</head>

<body>
    <div id="divID">

        <p><a id="tooltipID1"
            title="GeeksForGeeks tooltip1">
            This is tooltip1
        </a></p>

        <p><a id="tooltipID2"
            title="GeeksForGeeks tooltip2">
            This is tooltip2
        </a></p>
    </div>
</body>

</html>
输出:

相关用法
- jQuery UI Tooltips disabled用法及代码示例
- jQuery UI Tooltips track用法及代码示例
- jQuery UI Tooltips option()用法及代码示例
- jQuery UI Tooltips hide用法及代码示例
- jQuery UI Tooltips content用法及代码示例
- jQuery UI Tooltips open()用法及代码示例
- jQuery UI Tooltips close()用法及代码示例
- jQuery UI Tooltips enable()用法及代码示例
- jQuery UI Tooltips disable()用法及代码示例
- jQuery UI Tooltips destroy()用法及代码示例
- jQuery UI Tooltips open用法及代码示例
- jQuery UI Tooltips close用法及代码示例
- jQuery UI Tooltips create用法及代码示例
- JQuery Effect show()用法及代码示例
- HTML DOM Dialog show()用法及代码示例
注:本文由纯净天空筛选整理自taran910大神的英文原创作品 jQuery UI Tooltips show Option。非经特殊声明,原始代码版权归原作者所有,本译文未经允许或授权,请勿转载或复制。
