Matplotlib是Python中的一个库,它是数字的-NumPy库的数学扩展。的Artist类包含呈现对象的Abstract基类到一个FigureCanvas中。图中所有可见元素都是Artist的子类。
Matplotlib.artist.Artist.get_transformed_clip_path_and_affine()方法
matplotlib库的艺术家模块中的get_transformed_clip_path_and_affine()方法用于获取应用了其变换的非仿射部分和其变换的其余仿射部分的剪辑路径。
用法:艺术家。get_transformed_clip_path_and_affine(self)
参数:此方法不接受任何参数。
返回值:此方法返回应用了其变换的非仿射部分和其变换的其余仿射部分的剪辑路径。
以下示例说明了matplotlib.artist.Artist。get_transformed_clip_path_and_affine()在matplotlib中的函数:
范例1:
使用的图像:

# Implementation of matplotlib function
from matplotlib.artist import Artist
import matplotlib.pyplot as plt
import matplotlib.patches as patches
import matplotlib.cbook as cbook


with cbook.get_sample_data('image.PNG') as image_file:
    image = plt.imread(image_file)

fig, ax = plt.subplots()
im = ax.imshow(image)
patch = patches.Rectangle((0, 0), 260, 200,
                          transform = ax.transData)

# use of get_transformed_clip_path_and_affine() method
val = Artist.get_transformed_clip_path_and_affine(im)
ax.set_title("Value Return by get_transformed_clip_path_and_affine():"
             + str(val))

fig.suptitle('matplotlib.artist.Artist.get_transformed_clip_path_and_affine() \
function Example', fontweight="bold")

plt.show()
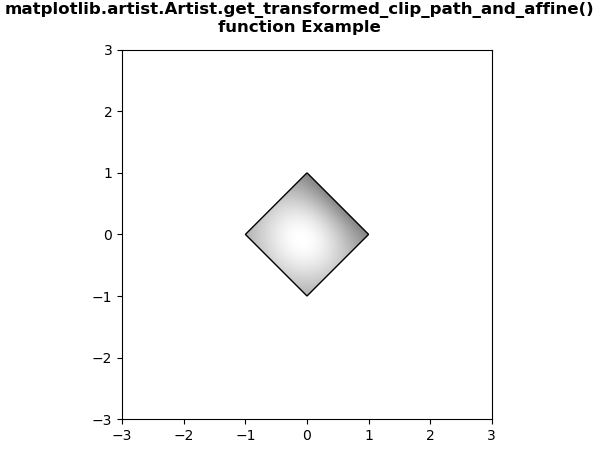
输出:

范例2:
# Implementation of matplotlib function
from matplotlib.artist import Artist
import numpy as np
import matplotlib.cm as cm
import matplotlib.pyplot as plt
from matplotlib.path import Path
from matplotlib.patches import PathPatch


delta = 0.025

x = y = np.arange(-3.0, 3.0, delta)
X, Y = np.meshgrid(x, y)

Z1 = np.exp(-X**2 - Y**2)
Z2 = np.exp(-(X - 1)**2 - (Y - 1)**2)
Z = (Z1 - Z2) * 2

path = Path([[0, 1], [1, 0], [0, -1], [-1, 0], [0, 1]])
patch = PathPatch(path, facecolor ='none')

fig, ax = plt.subplots()
ax.add_patch(patch)
im = ax.imshow(Z,
               interpolation ='bilinear',
               cmap = cm.gray,
               origin ='lower',
               extent =[-3, 3, -3, 3],
               clip_path = patch,
               clip_on = True)

# use of get_transformed_clip_path_and_affine() method
val = Artist.get_transformed_clip_path_and_affine(im)
print("Value Return by get_transformed_clip_path_and_affine():")
for i in val:
    print(i)

fig.suptitle("""matplotlib.artist.Artist.get_transformed_clip_path_and_affine()
function Example""", fontweight="bold")

plt.show()
输出:

Value Return by get_transformed_clip_path_and_affine():
Path(array([[ 0.,  1.],
       [ 1.,  0.],
       [ 0., -1.],
       [-1.,  0.],
       [ 0.,  1.]]), None)
Affine2D(
    [[ 82.66666667   0.         328.        ]
     [  0.          61.6        237.6       ]
     [  0.           0.           1.        ]])
相关用法
注:本文由纯净天空筛选整理自shivanisinghss2110大神的英文原创作品 Matplotlib.artist.Artist.get_transformed_clip_path_and_affine() in Python。非经特殊声明,原始代码版权归原作者所有,本译文未经允许或授权,请勿转载或复制。
