如果在任何生命周期方法或任何子組件的呈現階段發生一些錯誤,則調用componentDidCatch()方法。此方法用於為React應用程序實現錯誤邊界。它在提交階段被調用,因此與在渲染階段被調用的getDerivedStateFromError()不同,此方法允許使用side-effects。此方法還用於記錄錯誤。
用法:
componentDidCatch(error, info)
參數:它接受兩個參數,即error和info,如下所述:
- error:這是後代組件引發的錯誤。
- info:它存儲哪個組件引發了此錯誤的componentStack跟蹤。
創建React應用程序:
步驟1:使用以下命令創建React應用程序:
npx create-react-app foldername
步驟2:建立專案資料夾(即資料夾名稱)之後,使用以下指令移至該資料夾:
cd foldername
項目結構:如下圖所示。
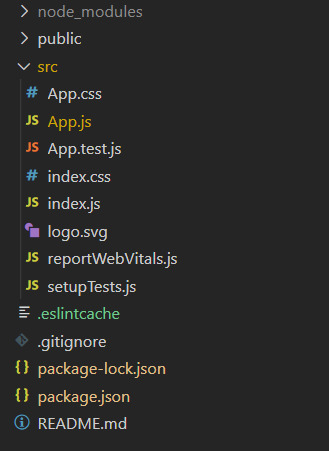
項目結構
例:程序演示了使用componentDidCatch()方法。
文件名:App.js:
Javascript
import React, { Component } from 'react';

export default class App extends Component {
  // Intializing the state
  state = {
    error:false,
  };

  componentDidCatch(error) {
    // Changing the state to true
    // if some error occurs
    this.setState({
      error:true
    });
  }

  render() {
    return (
      <React.StrictMode>
        <div>
          {this.state.error ? <div>Some error</div>:<GFGComponent />}
        </div>
      </React.StrictMode>
    );
  }
}

class GFGComponent extends Component {

  // GFGComponent throws error as state of
  // GFGCompnonent is not defined

  render() {
    return <h1>{this.state.heading}</h1>;
  }
}
運行應用程序的步驟:從項目的根目錄中使用以下命令運行應用程序:
npm start
輸出:

輸出
參考:https://reactjs.org/docs/react-component.html#componentdidcatch

相關用法
- ReactJS shouldComponentUpdate()用法及代碼示例
- ReactJS componentDidMount()用法及代碼示例
- ReactJS getSnapshotBeforeUpdate()用法及代碼示例
- ReactJS bind()用法及代碼示例
- ReactJS componentDidUpdate()用法及代碼示例
- ReactJS getDerivedStateFromError()用法及代碼示例
- ReactJS componentWillUnmount()用法及代碼示例
注:本文由純淨天空篩選整理自rbbansal大神的英文原創作品 ReactJS componentDidCatch() Method。非經特殊聲明,原始代碼版權歸原作者所有,本譯文未經允許或授權,請勿轉載或複製。