當組件已經放置在DOM(文檔對象模型)中時,componentDidMount()方法允許我們執行React代碼。在React Life-cycle的安裝階段(即渲染組件之後)調用此方法。
所有AJAX請求以及DOM或狀態更新都應在componentDidMount()方法塊中進行編碼。我們也可以在此處設置所有主要的訂閱,但是為了避免任何性能問題,請始終記住使用componentWillUnmount()方法取消訂閱。
用法:
componentDidMount()
創建React應用程序:
步驟1:使用以下命令創建React應用程序:
npx create-react-app functiondemo
第2步:創建項目文件夾(即functiondemo)後,使用以下命令將其移至該文件夾:
cd functiondemo
項目結構:如下圖所示。
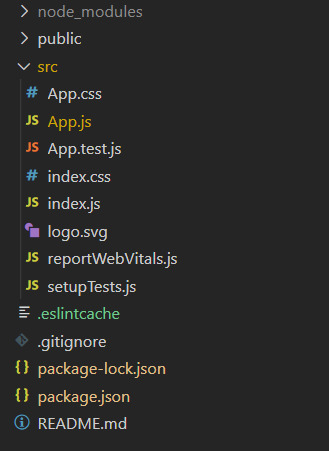
項目結構
例:在此示例中,我們將構建一個名稱顏色應用程序,當在DOM樹中呈現組件時,該應用程序將更改文本的顏色。
App.js:現在在App.js文件中寫下以下代碼。在這裏,App是我們編寫代碼的默認組件。
Javascript
import React from 'react';
class App extends React.Component {
  constructor(props) {
    super(props);

    // Initializing the state
    this.state = { color:'lightgreen' };
  }
  componentDidMount() {

    // Changing the state after 2 sec
    // from the time when the component
    // is rendered
    setTimeout(() => {
      this.setState({ color:'wheat' });
    }, 2000);
  }
  render() {
    return (
      <div>
        <p
          style={{
            color:this.state.color,
            backgroundColor:'rgba(0,0,0,0.88)',
            textAlign:'center',
            paddingTop:20,
            width:400,
            height:80,
            margin:'auto'
          }}
        >
          GeeksForGeeks
        </p>

      </div>
    );
  }
}
export default App;
運行應用程序的步驟:從項目的根目錄中使用以下命令運行應用程序:
npm start
輸出:


相關用法
- ReactJS shouldComponentUpdate()用法及代碼示例
- ReactJS getSnapshotBeforeUpdate()用法及代碼示例
- ReactJS bind()用法及代碼示例
- ReactJS componentDidUpdate()用法及代碼示例
- ReactJS componentDidCatch()用法及代碼示例
- ReactJS getDerivedStateFromError()用法及代碼示例
- ReactJS componentWillUnmount()用法及代碼示例
注:本文由純淨天空篩選整理自rbbansal大神的英文原創作品 ReactJS componentDidMount() Method。非經特殊聲明,原始代碼版權歸原作者所有,本譯文未經允許或授權,請勿轉載或複製。